Building outdoor steps is a practical way to add structure to your yard, patio, or garden while also improving accessibility. Whether you’d like to connect different elevations or simply want to make a sloped area easier to navigate, learning how to build outdoor steps can enhance both the safety and beauty of your hardscape. The process requires careful planning, the right tools and materials, and attention to detail to ensure durable and attractive results. Hiring an experienced professional, like the hardscape experts at Triad Associates, is always the best way to ensure the results you need.
Learning How to Build Outdoor Steps
Building outdoor steps can be a relatively straightforward task that, with the right guidance and preparation, is a project that many homeowners and DIY enthusiasts can tackle. The key to success is to understand each phase of the process, from design and site preparation to construction and finishing, so you can create steps that are stable, safe, and visually appealing. However, some properties may pose special challenges that can make this job tricky, which is why it is always best to hire the professionals. You don’t want to make costly mistakes that undermine your hardscape investment or the integrity of your landscape.
Tools and Materials Needed
If you aim to learn how to build outdoor steps and tackle the project yourself, it’s necessary to gather all the right tools and materials based on the type of steps you’re building (such as wood, concrete, stone, or pavers) before you begin. Commonly needed items include:
- Tape measure and level
- Shovel and rake
- Stakes and string
- Saw (for wood steps)
- Hammer or drill
- Concrete mix (for poured concrete steps)
- Gravel or crushed stone (for the base)
- Step material (pressure-treated lumber, stone slabs, pavers, or concrete forms)
- Fasteners, adhesive, or masonry tools (depending on the material)
Having all your supplies ready will help the project go more smoothly and efficiently.
1. Planning Your Outdoor Steps
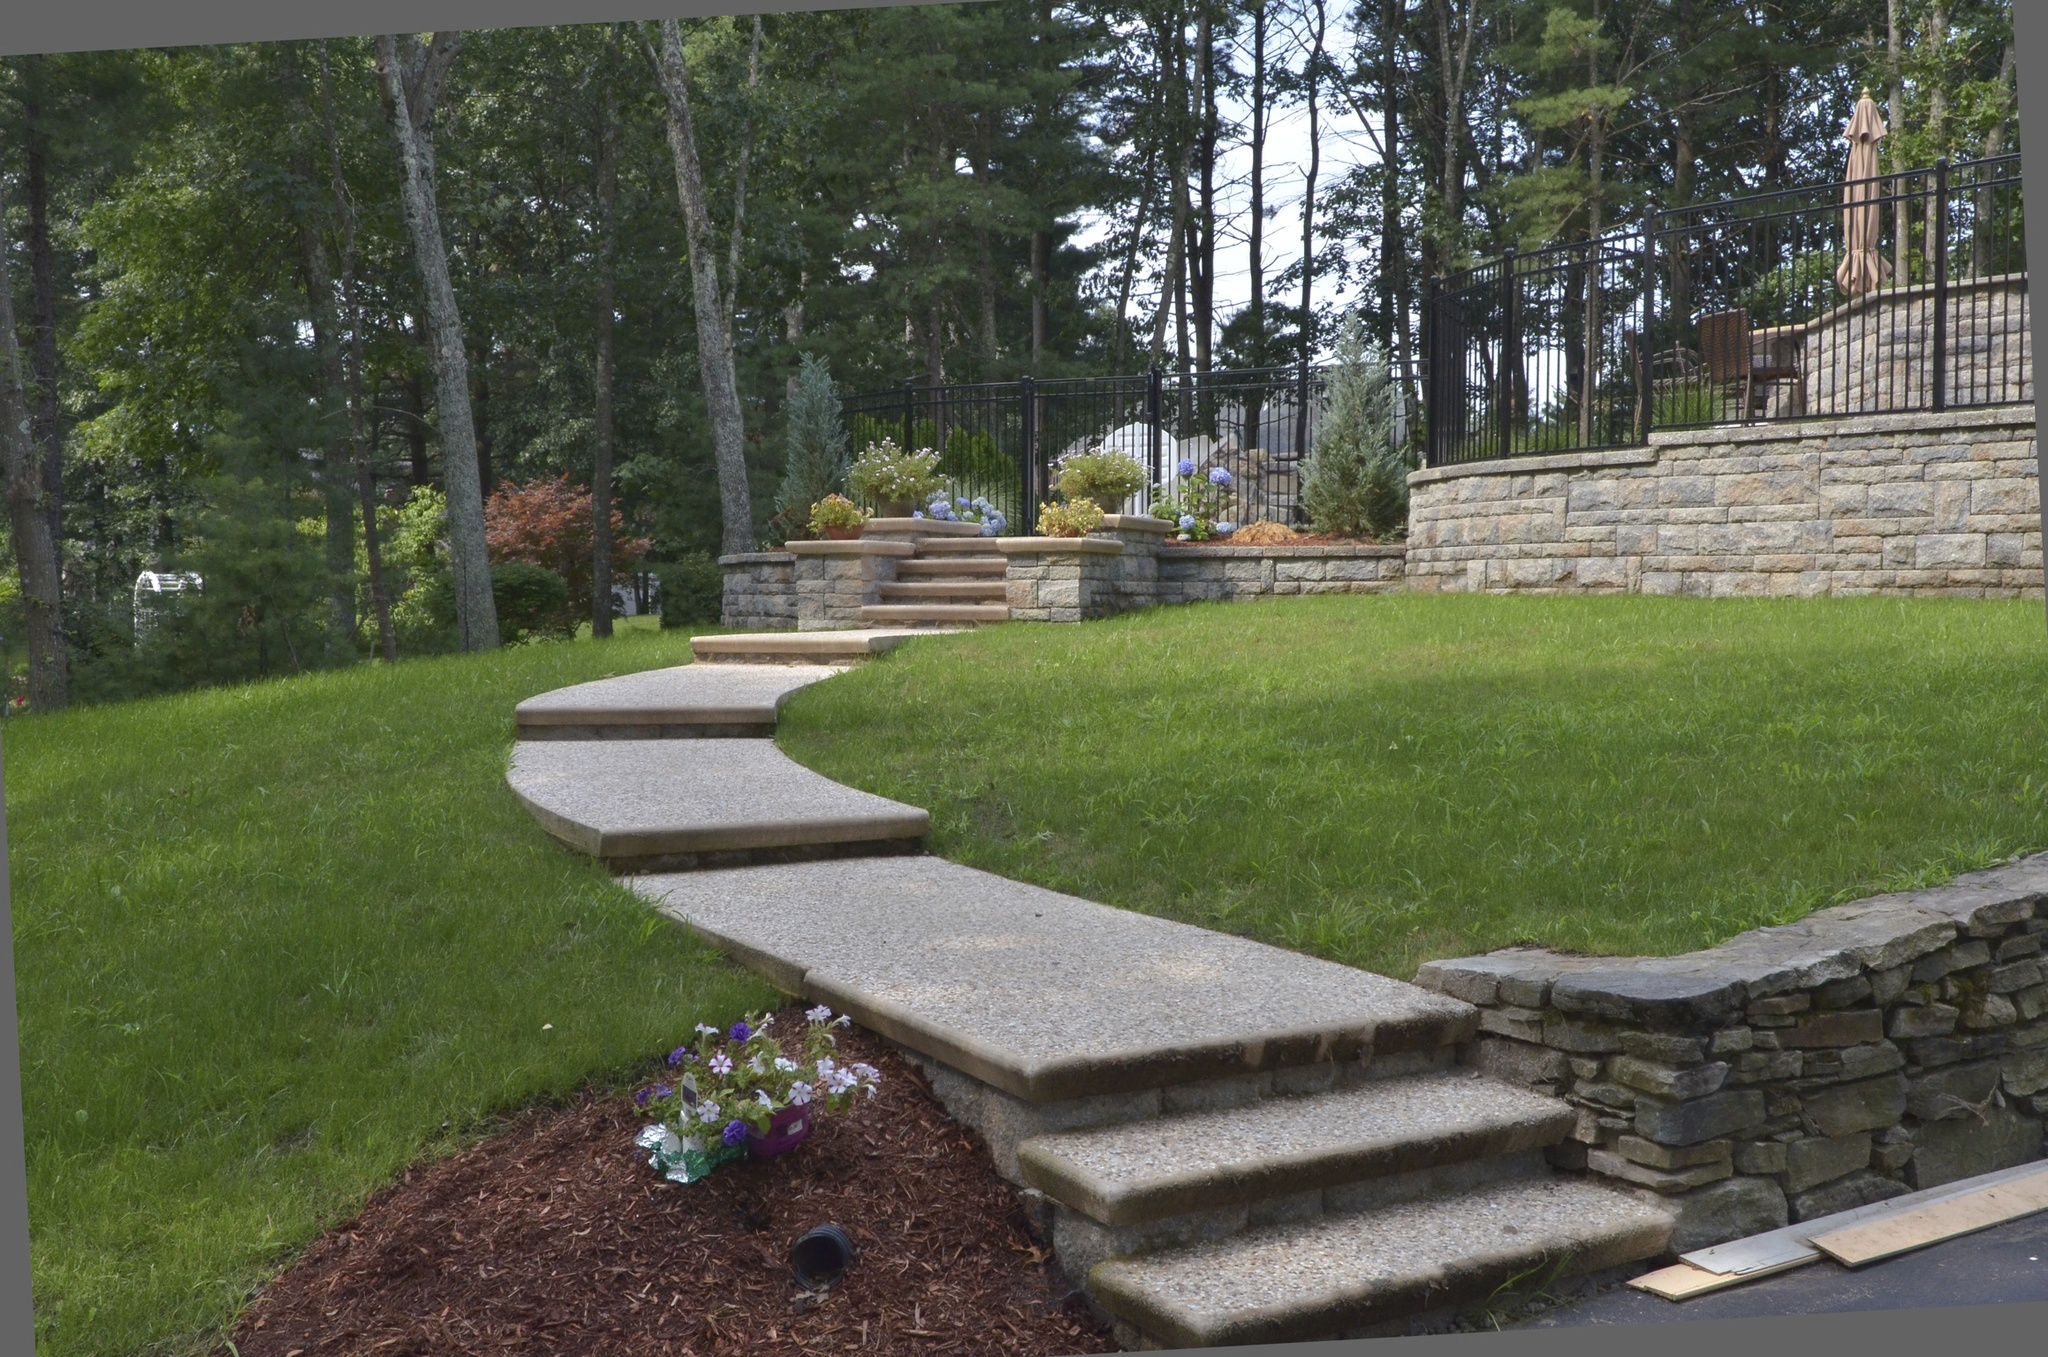
 The first step to a successful build is careful planning. Measure the height of the area where you need steps (the rise) to determine how many steps are required. A good rule of thumb is to aim for a rise of 6 to 8 inches per step and a tread (depth) of at least 10 to 12 inches for comfortable footing. Mark out the location using stakes and string. Then, consider the style and materials that will best match your existing hardscape. Be sure to account for drainage and any nearby structures or landscaping features.
2. Preparing the Construction Site
Once your plan is in place, prepare your site by clearing away vegetation, rocks, or debris from the step area. Use a shovel to level the ground and create a firm, stable base. Depending on your design, you may need to dig out space for a gravel base or concrete footing to provide additional support and drainage. Proper site preparation is essential to prevent settling or shifting over time, ensuring that your steps remain safe and attractive for years to come.
3. Constructing the Step Frame
If your outdoor steps require a frame, such as for wood or concrete, the next point in learning how to build outdoor steps is to construct a sturdy structure that will support the weight and shape of your staircase. For wood steps, this means cutting stringers and securing them in place with stakes and braces. For concrete steps, it involves constructing a form using boards to contain the concrete until it cures. Double-check all measurements and use a level throughout to ensure that your steps will be uniform, safe, and visually appealing.
4. Installing the Steps
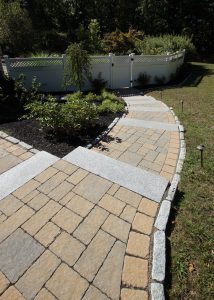
With your frame or base in place, it’s time to install the step material. For wood steps, secure treads and risers to the stringers using appropriate fasteners and outdoor-rated hardware. For concrete steps, mix and pour the concrete into the prepared forms, smoothing each step with a trowel and allowing adequate curing time. If you’re using natural stone, pavers, or precast concrete blocks, set each piece carefully on the prepared base, ensuring even spacing and level placement for each step. Compact any gravel or sand layers beneath to prevent future settling.
5. Adding Finishing Touches
Once the steps are installed, you can add finishing touches to enhance safety and appearance. Consider installing handrails if required, adding landscape lighting along the sides, or applying a protective sealant to wood or stone surfaces. Fill any gaps between steps and surrounding landscaping with soil, mulch, or plants to create a polished, integrated look. These small details can make a big difference in both functionality and curb appeal.
Maintenance Tips for Longevity
Learning how to build outdoor steps isn’t the only important thing to know, maintenance is key too. Sweep away debris, leaves, and dirt to prevent buildup that can lead to slippery surfaces or rot. For wood steps, check for signs of wear or damage and reapply sealant as needed. Inspect stone or paver steps for shifting or settling, and refill joints with sand or gravel when necessary. Keeping drainage around your steps clear will also help prevent water-related damage.
Working with Local Building Codes
Before you begin construction, it’s important to consult your local building codes and regulations. Many municipalities have specific requirements for outdoor steps, including dimensions, materials, and the inclusion of handrails or guardrails. Obtaining any necessary permits and ensuring that your project meets code will help avoid issues down the line and ensure that your steps are safe for everyday use.
Work with Triad Associates’ Outdoor Step Experts
Learning how to build outdoor steps that are safe, durable, and beautiful takes careful planning and expert craftsmanship. At Triad Associates in Haverhill, MA, our team has the experience and skill to design and construct custom outdoor steps that fit seamlessly into your hardscape and give you safe and beautiful results for many years to come. Whether you’re looking for wood, stone, concrete, or paver steps, we’ll guide you through the entire process, from planning and permitting to installation and finishing touches. Let us help you create steps that enhance your outdoor living space and stand the test of time. Contact us today.