 Your choice in pavers makes a big difference in the look and functionality of your hardscape. But understanding how to install paver edging correctly is what keeps your patio, walkway, or driveway looking clean and structurally sound for years. Without solid edging, pavers can shift, spread, or sink over time due to foot traffic, weather, and ground movement.
Installing edging correctly also ensures that your hardscape maintains its shape, stability, and professional finish. Knowing how to install paver edging properly helps protect your investment, and the experts at Triad Associates can select and install the right paver edging to ensure that your hardscape stays beautiful, safe, and functional for many years to come.
Preparing the Installation Area
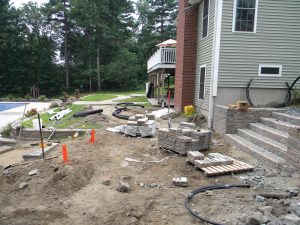
Before installing edging, preparation is critical. A well-prepared base and clearly defined layout will prevent movement and reduce the risk of future repairs. While this is technically a job that you can do yourself, it’s not recommended. Experience and expertise are needed to get it right, and the professionals at Triad Associates have both.
These are some of the key components to understand when learning how to install paver edging and preparing for a proper installation:
Gathering Tools and Materials
Having the right tools ready will make the installation smoother and more efficient. Common tools and materials include:
- Paver edging (plastic, aluminum, steel, or concrete)
- 8-12 inch landscape spikes or stakes
- Crushed stone or gravel base material
- Bedding sand
- Shovel and hand tamper or plate compactor
- Level
- Rubber mallet
- Measuring tape
- String line and stakes
Choosing quality edging materials appropriate for your project ensures durability and long-term performance.
Measuring and Marking the Edge Layout
Installation begins with outlining the perimeter of your paver project. String lines and stakes are used to define straight edges, or flexible marking tools for curved designs.
Accurate measurements are essential to ensure that the edging follows the intended shape of the patio, driveway, or walkway. Alignment and dimensions should be double-checked before moving forward, as adjustments are much easier at this stage than later.
Excavating the Perimeter
 Once the layout is marked, excavation will be needed along the perimeter to create space for the base material and edging. The trench depth should account for the gravel base, a layer of sand, and the height of the edging material.
Typically, excavation should extend deep enough to support the pavers and edging without leaving them above the surrounding grade unless the design calls for a raised border. Loose soil and debris should be removed to create a stable foundation.
How to Install the Base Material
A strong base is the foundation of any successful paver installation. Without proper base preparation, even the best edging materials can shift or fail over time. Again, this is a job that should be left to the professionals, like those at Triad Associates. Here’s what the process will involve:
Adding and Compacting the Gravel Base
Work should begin by adding a layer of crushed stone or gravel to the excavated perimeter. A critical step in how to install paver edging is spreading the material evenly and compacting it thoroughly using a hand tamper or plate compactor. Compaction is key as it prevents settling and provides a stable foundation for both the pavers and the edging.
Depending on the project, the gravel base may need to be installed in layers, compacting each layer before adding the next.
Leveling the Sand Layer
After the gravel base is compacted, a thin layer of bedding sand is spread over the surface. The sand helps create a smooth, level setting bed for the pavers and edging.
A level or screed board is used to ensure the sand layer is even and properly graded. The sand should not be over-compacted; it should be firm but still workable to allow for precise placement of edging and pavers.
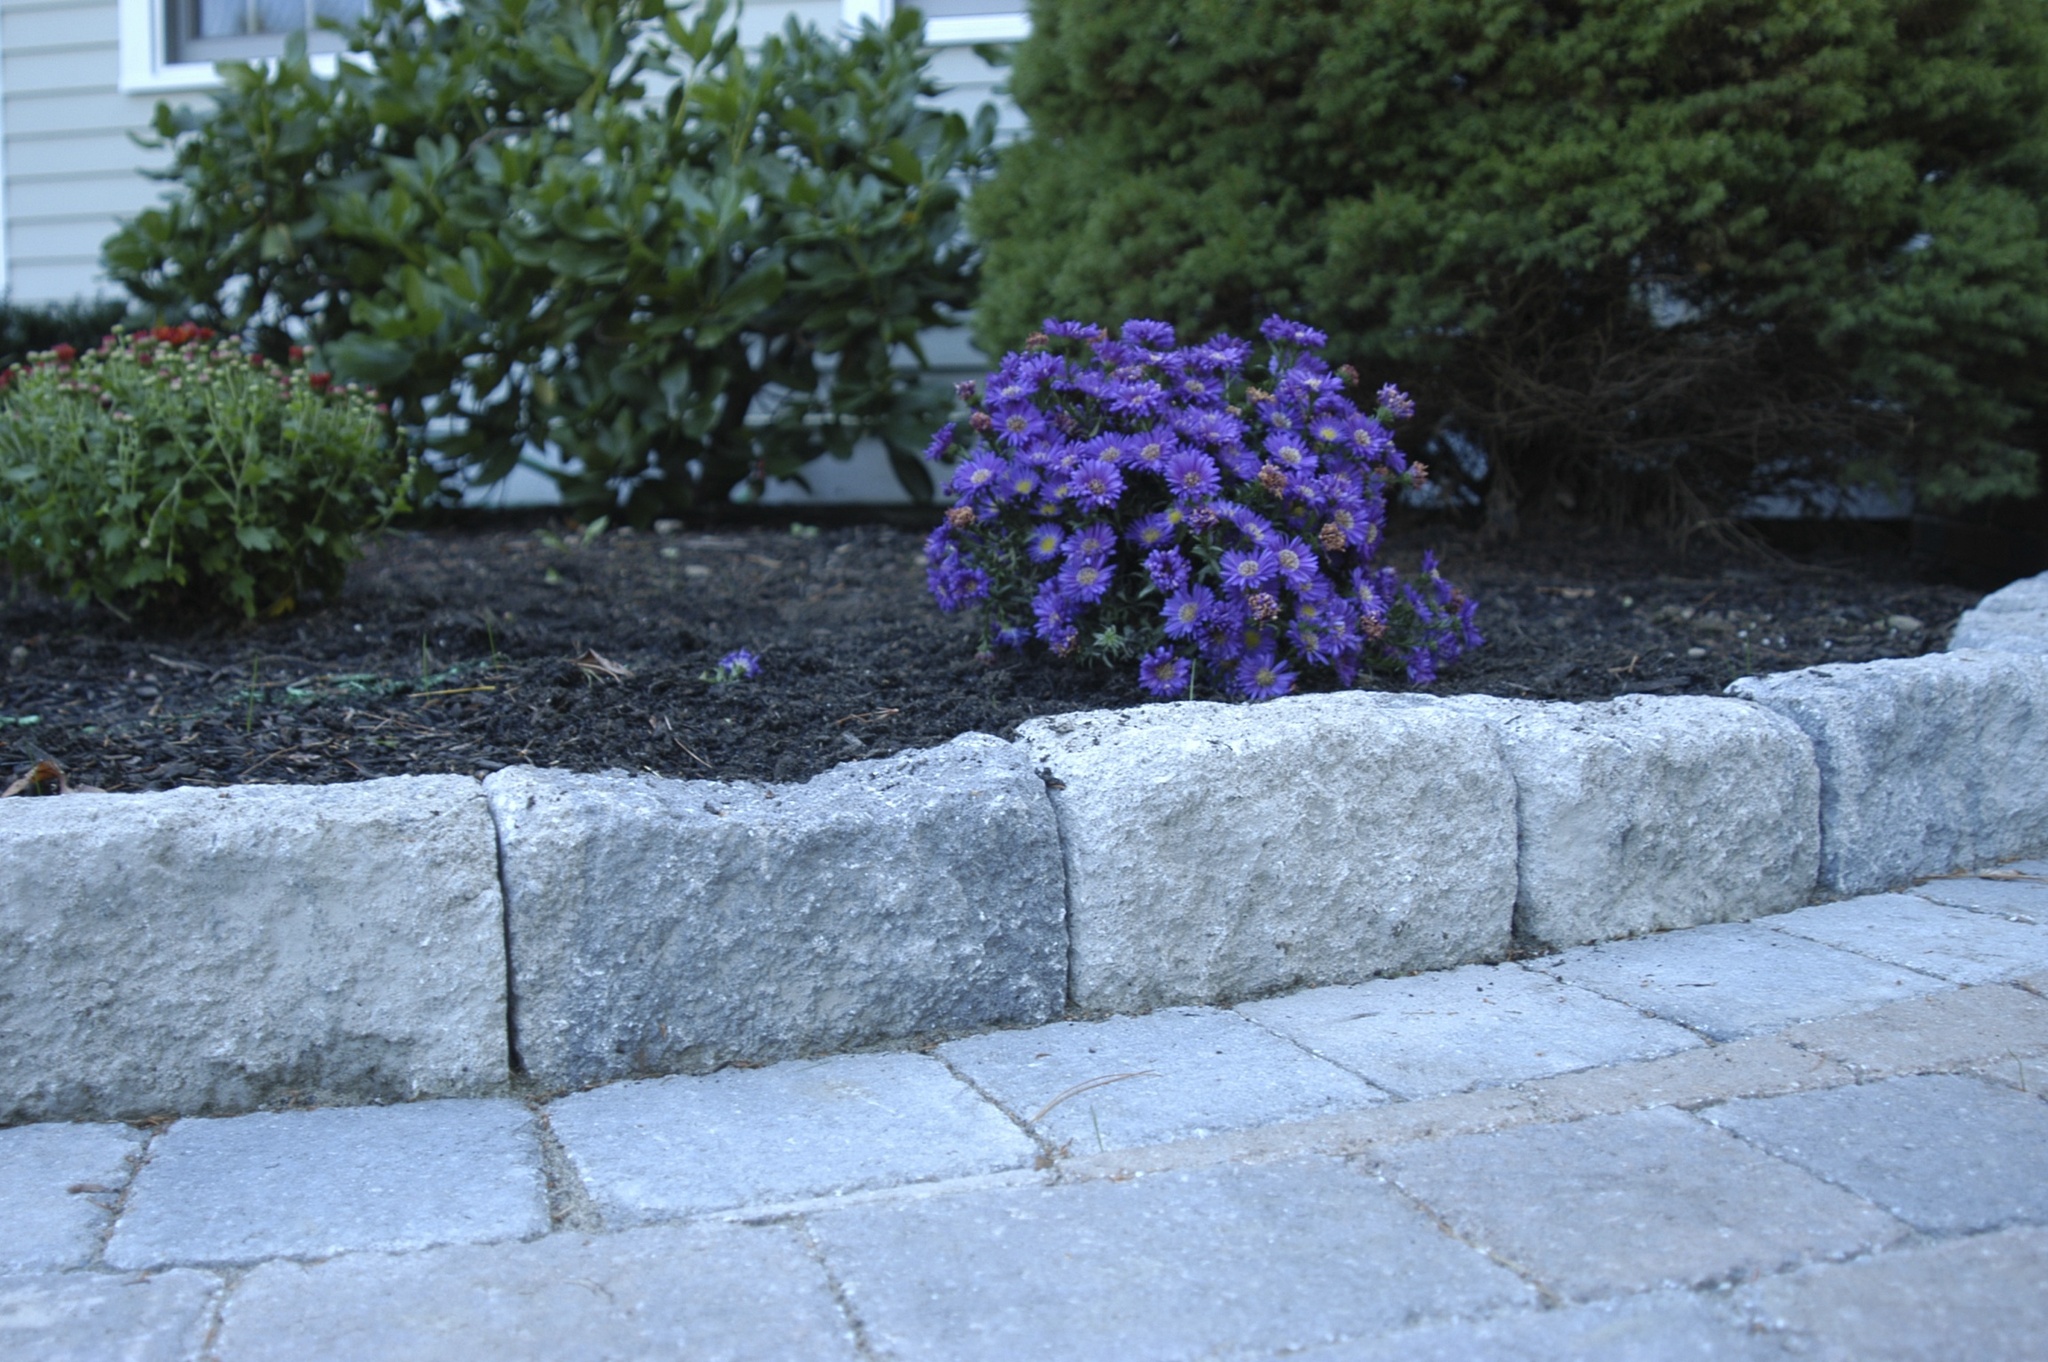
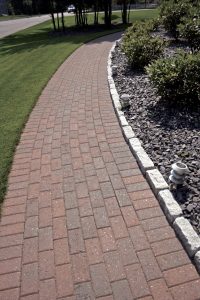
How Do You Place the Paver Edging
Once the base is properly prepared, placing the paver edging is what locks the entire project into shape. When learning how to install paver edging, proper placement ensures your pavers won’t spread, shift, or lose their clean lines over time. Taking a careful, methodical approach at this stage helps protect the long-term stability of your patio, walkway, or driveway.
Positioning the Edging Pieces
 Work starts by laying the edging along the prepared perimeter, directly against the outer edge of the pavers. The edging should sit firmly on the compacted base material and fit snugly against the pavers without gaps.
For straight runs, each section must be aligned carefully to maintain a clean, continuous line. For curves, flexible edging materials are gently bent to follow the contour of the layout. All sections must connect securely, especially at corners or transitions.
Securing the Edging With Stakes or Spikes
Once positioned correctly, the edging is anchored using landscape spikes or stakes. An important step in how to install paver edging is driving the spikes through the designated holes in the edging and into the compacted base below.
Spacing typically ranges from 8 to 12 inches apart, depending on the type of edging and the manufacturer’s recommendations. The spikes should be driven flush with the edging to prevent interference with the pavers or surrounding surface.
Proper anchoring is critical. If the edging is not firmly secured, the pavers may gradually shift under traffic or seasonal ground movement.
Checking Alignment and Height
After securing the edging, the entire perimeter should be visually inspected. A level is used to ensure that the edging sits evenly and matches the desired finished height.
The top of the edging should generally sit slightly below the surface of the pavers to keep it hidden while still providing structural support. Any necessary adjustments should be made before moving on, as corrections become more difficult once backfilling begins.
Finishing the Installation
The final steps reinforce the edging and integrate it seamlessly into the surrounding landscape. Proper finishing ensures durability and gives your project a clean, professional appearance.
Backfilling Along the Edging
Soil or additional base material should be backfilled along the outside of the edging. This helps stabilize the perimeter and prevents lateral movement.
Material must be added gradually and pressed firmly into place, filling any gaps along the outer edge. This additional support strengthens the entire structure and improves long-term performance.
Compacting and Leveling the Surface
Once backfilled, the surrounding soil or gravel should be compacted to secure everything in place. The pavers or edging should not be disturbed during this step.
If necessary, joint sand should be swept into the paver joints and the surface compacted. A properly compacted surface helps maintain a flat, even finish.
Inspecting the Completed Edge
Finally, the entire perimeter should be inspected. The inspection should confirm that:
- The edging is secure and firmly anchored
- The alignment follows the original layout
- The height is consistent and visually clean
- There are no visible gaps or loose sections
A properly installed paver edge provides both structural support and a polished look, helping your hardscape project maintain its shape and appearance for years to come.
FAQs
Installing pavers and edging can seem like a straightforward process, but it requires experience and expertise to get right. Here are the answers to some frequently asked questions to help you better understand the process.
Do You Install Edging Before or After Pavers?
In most standard installations, paver edging is installed after the pavers are laid and properly aligned, but before final compaction and joint finishing.
Placing the edging after the pavers allows the exact layout to be locked in and ensures tight spacing along the perimeter. Once the edging is secured, it acts as a restraint system that prevents the pavers from shifting outward over time.
How Do You Hold Paver Edges in Place?
Paver edging is typically secured using landscape spikes or steel stakes driven through the edging and into the compacted base below. These spikes anchor the edging firmly in place and prevent movement caused by foot traffic, vehicle loads, or seasonal ground shifts.
In addition to spikes, proper base preparation and backfilling play a major role. A well-compacted gravel base and tightly packed soil along the outer edge provide additional stability that helps the system last for years.
How High Should Paver Edging Be?
Paver edging should generally sit slightly below the top surface of the pavers. This keeps it hidden from view while still providing strong lateral support.
If the edging is too high, it may be visible and affect the finished look. If it’s too low, it may not properly restrain the pavers. Careful leveling during installation ensures the edging remains both functional and visually seamless.
Work With Triad Associates’ Pavers Experts
While DIY installation is possible, understanding how to install paver edging correctly is critical to ensure long-term durability, proper drainage, and a clean finished appearance. From precise excavation and base preparation to expert edging placement, attention to detail makes the difference between a project that lasts a few seasons and one that performs for decades.
The team at Triad Associates in Haverhill, MA, brings experience, quality materials, and professional-grade equipment to every paver project. Whether you’re installing a new patio, driveway, or walkway, working with knowledgeable professionals helps ensure that your hardscape remains stable, attractive, and built to last. If you’re planning a paver project or want expert guidance on edging and installation, Triad Associates is ready to help. Contact us today.